How-to · 7 min read · 21 September 2026
Press-on nails: the complete beginner's guide
What press-on nails are, how they compare to a salon set, what you need, and how to get a first application that looks like it was done for you.
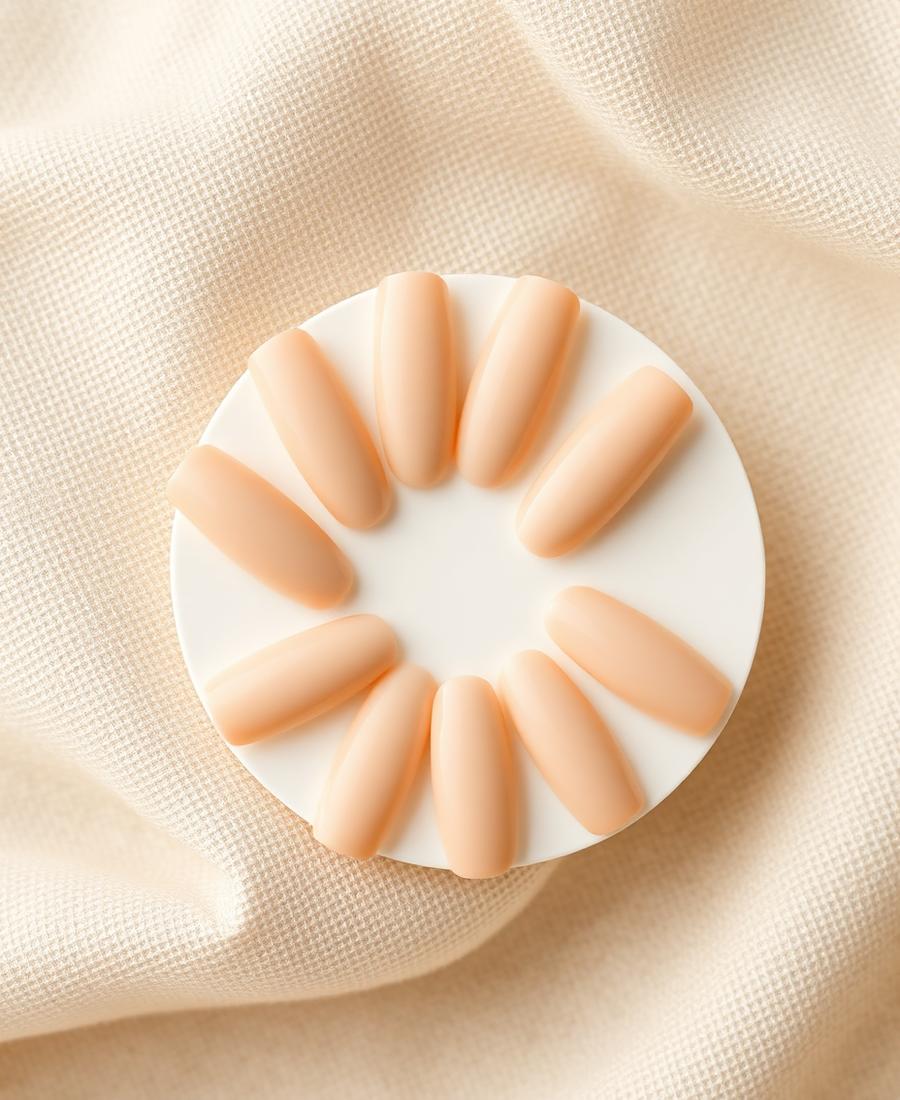
The short answer
Press-on nails are pre-shaped false nails you apply at home with glue or adhesive tabs in about fifteen minutes. Beginners should size every tip first, prep the nail plate until it is dry and oil-free, press each tip for 30 seconds, and start with a short almond or squoval set.
- · What are press-on nails?
- · What you need for your first set
- · The five-step application
- · The shapes and lengths to start with
- · Common beginner mistakes
- · Where to go next
What are press-on nails?
Press-on nails are pre-shaped, pre-finished false nails that sit on top of your natural nail. Instead of building a manicure layer by layer, you choose a shape, length and design, match each tip to the right finger, and bond it with nail glue or an adhesive tab. A full set takes about fifteen minutes.
Good press-on nails are not the flimsy plastic tips of a decade ago. A NEEVANAILS set is hand-finished, curved to follow a real nail bed, and strong enough to be removed gently and worn again - which is why a single set can cover several manicures.
What you need for your first set
Everything arrives in the box: tips in sizes XS to XL, nail glue, a file, a buffer and a wooden stick. The only thing to add is a little rubbing alcohol or an alcohol wipe to clean the nail plate before you start.
Choose glue for a two-week wear and adhesive tabs for a weekend or a single event. Tabs are gentler and instantly removable; glue is what gets you to day fourteen.
The five-step application
One: wash and dry your hands, then push cuticles back gently. Two: buff the shine off the nail plate and wipe each nail with alcohol - press-on glue bonds to clean keratin, never to oil or hand cream. Three: lay out every tip on its matching finger before you open the glue, choosing the size that reaches sidewall to sidewall.
Four: apply a thin layer of glue to the natural nail and a dot inside the tip, set the tip at the cuticle line and roll it down. Five: hold for a full 30 seconds with firm, even pressure, then leave the set out of water for an hour.
The shapes and lengths to start with
For a first set, short to medium almond or squoval is the easiest to live with: you can type, open a can and use your phone without relearning your hands. Coffin, stiletto and XL lengths are beautiful in photographs and best attempted once your application is confident.
If you cannot picture a shape on your own hands, the NEEVANAILS try-on renders any set onto a photo of your hand from your camera, and the AI Stylist scores the shape families against your finger and nail-bed proportions.
Common beginner mistakes
Applying hand cream just before gluing, skipping the buff, guessing sizes instead of laying them out, and releasing the pressure after five seconds - those four account for almost every set that lifts on day two.
The other one is removal. Never pull a dry tip off. Soak your hands in warm soapy water for ten minutes, add a drop of oil under the lifted edge and ease the tip off from the sidewall. That single habit keeps your natural nail healthy and keeps the set reusable.
Where to go next
Once your first set is on, everything else is small refinements: a sizing measurement per finger, a shape that suits your hands, and a care routine between wears. The NEEVANAILS Nail Academy covers each of those in short videos, and NEEVANAILS Circle gives your retired sets a return route rather than a bin.